
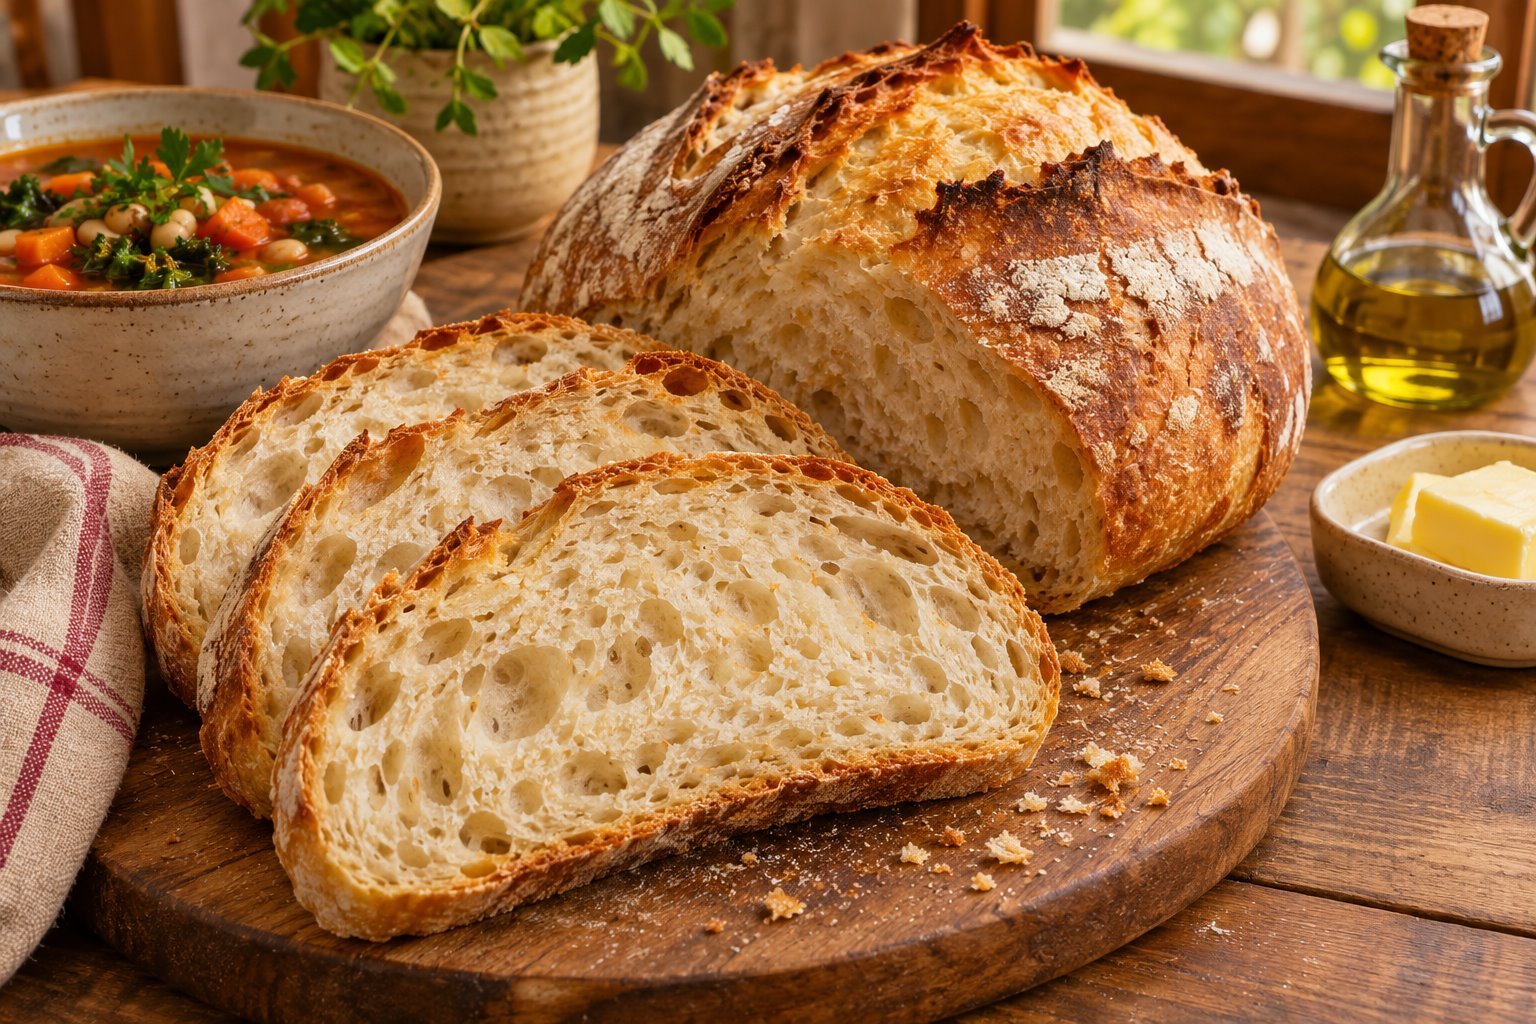
No Knead Dutch Oven Bread gives you a deeply golden, crackly crust and a soft, airy center without a mixer or traditional kneading. Stir four basic ingredients in a bowl, let the sticky dough rise, then bake it inside a preheated covered pot. The trapped steam creates the artisan-style finish that normally requires special bakery equipment.
This simple loaf is approachable enough for a first bread project and useful enough to make every week. It pairs with soup, pasta, roasted vegetables, dips, or a simple layer of salted butter.
Why Dutch Oven Bread Works
A heavy covered pot creates a small steam oven around the dough. As the wet dough heats, moisture turns to steam and keeps the surface flexible during the first part of baking. That allows the loaf to expand before the crust becomes firm. Removing the lid later lets the surface dry and brown.
- No kneading: Time and moisture develop the dough structure instead of repeated hand work.
- Four ingredients: Flour, yeast, salt, and water are all you need for the basic loaf.
- Minimal shaping: A few folds with a spatula or damp hands create a rustic round.
- Bakery-style crust: The preheated covered pot holds steam close to the dough.
Among homemade bread recipes easy enough for beginners, this method is especially forgiving because the dough is supposed to look sticky and rough. You do not need to force it into a smooth, dry ball.
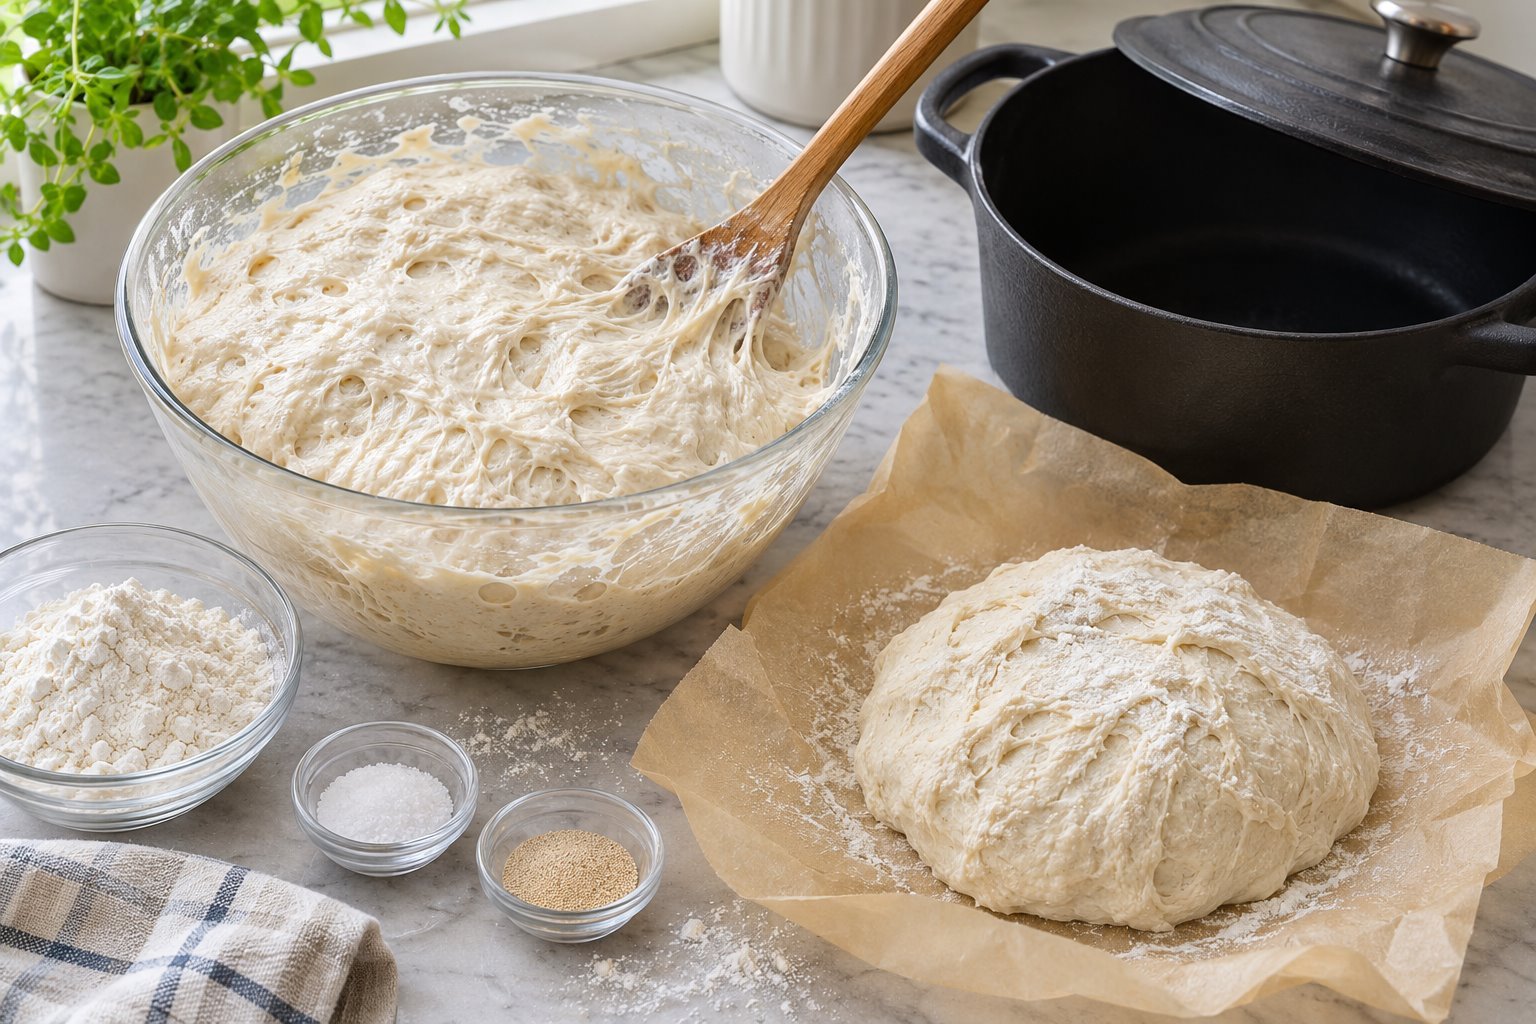
Ingredients for No Knead Dutch Oven Bread
All-purpose flour: Regular flour creates a tender, pleasantly chewy crumb. Bread flour can be substituted for a slightly chewier loaf. For consistent results, weigh the flour if possible.
Instant yeast: Instant yeast can be mixed directly with the flour and does not require a separate proofing step. Check the package date if the dough has failed to rise in the past.
Fine salt: Salt controls yeast activity and gives the bread flavor. Keep the quantity accurate; a loaf without enough salt can taste flat.
Warm water: Use comfortably warm water, approximately 95°F to 105°F. Very hot water can damage the yeast. The relatively high water content is what makes this crusty bread recipe airy and easy to mix.
How to Make No Knead Bread
Whisk the flour, instant yeast, and salt in a large bowl. Pour in the warm water and stir with a sturdy wooden spoon or flexible spatula until no dry flour remains. The dough will be shaggy and sticky. Resist adding flour simply to make it easier to handle.
Cover the bowl and let the dough rise in a draft-free place for two to three hours. It should expand noticeably and show bubbles across the surface. A cool kitchen may require more time, while a warm kitchen can speed the rise.
Place a 5- to 6-quart Dutch oven and its oven-safe lid in the oven. Preheat to 450°F for at least 30 minutes. Meanwhile, scrape the dough onto lightly floured parchment paper. Use the parchment, a bench scraper, or damp hands to tuck the edges underneath and form a loose round. Handle it gently so you preserve the trapped air.
Score the top with one shallow slash. Wearing heavy oven mitts, remove the hot pot and carefully lower the dough inside using the parchment as handles. Cover immediately and bake for 30 minutes. Remove the lid and continue baking for 10 to 15 minutes, until the crust is a deep golden brown.
Lift the bread onto a cooling rack and wait at least one hour before slicing. The inside continues to set as it cools. Cutting too early can compress the crumb and make a fully baked loaf seem gummy.
Important Dutch Oven Safety
The pot, lid, handles, and knob become extremely hot. Confirm that every part of your Dutch oven is rated for 450°F. Some lid knobs have lower temperature limits and must be replaced with an oven-safe version.
Keep dry oven mitts beside the oven before you begin. Set the hot lid on a heatproof surface, not directly on a counter. Lower the dough into the pot rather than dropping it, and keep your face and hands away from the burst of steam when removing the lid.
Tips for a Better Artisan Loaf
Do not chase a dry dough. This is not a traditional knead bread recipe. The mixture should remain sticky because moisture supports steam and an open crumb.
Preheat the pot thoroughly. A fully heated Dutch oven gives the dough an immediate burst of heat and helps it rise before the crust sets.
Use parchment rated for high heat. Trim very large overhangs so the paper does not touch the oven walls or heating element. Check the temperature limit printed by the manufacturer.
Judge the rise, not only the clock. Yeast works more slowly in a cold room. The dough is ready when it looks expanded, jiggly, and bubbly.
Bake until deeply colored. Pale bread will not have the same crisp crust or developed flavor. If you use a thermometer, the center is generally ready near 205°F to 210°F.
Easy Flavor Variations
Once you are comfortable with the basic method, add up to three-quarters cup of low-moisture mix-ins. Chopped rosemary, thyme, cracked black pepper, grated Parmesan, shredded cheddar, drained olives, or roasted garlic all work well. Add them when you mix the dough so they are distributed evenly.
For a seeded loaf, sprinkle sesame, sunflower, or pumpkin seeds over the shaped dough before scoring. For cinnamon raisin bread, fold in three-quarters cup of soaked and thoroughly dried raisins plus one teaspoon of cinnamon. These variations make this method useful across many artisan bread recipes.
Serving Ideas
Serve warm slices with butter, olive oil, or soup. The sturdy crumb is excellent for grilled cheese, garlic bread, bruschetta, or open-faced sandwiches. Day-old cubes can become croutons or a savory bread pudding.
This loaf is also a practical addition to Dutch oven recipes for camping-style meals, although the recipe here is written for a conventional oven. It works especially well beside stews prepared through Dutch oven cooking.
Storage and Freezing
Let the bread cool completely before storing it. Keep it cut-side down on a board for the first day or place it in a paper bag to protect the crust. An airtight bag keeps the interior soft but gradually softens the crust. Toasting restores some crispness.
For longer storage, slice the loaf and freeze it in a freezer-safe bag for up to three months. Toast slices directly from frozen or thaw them at room temperature. Avoid refrigerating bread, which can make it stale faster.
Frequently Asked Questions
Why did my dough not rise?
The yeast may be old, the water may have been too hot, or the room may be cold. Give the dough additional time in a gently warm location and confirm the yeast date before trying again.
Can I make this without parchment paper?
Yes, but transfer becomes more difficult. Carefully turn the shaped dough into the hot pot and use enough flour or cornmeal to reduce sticking. Parchment is the easier option for beginners.
Can I use bread flour?
Yes. Replace the all-purpose flour with the same weight of bread flour. The dough may feel slightly stronger and the finished crumb may be chewier.
Is this a quick bread?
Technically, no. Traditional quick bread recipes easy enough for immediate baking use baking soda or baking powder. This loaf uses yeast, but its short hands-on time and single rise make it quicker than many yeast breads.
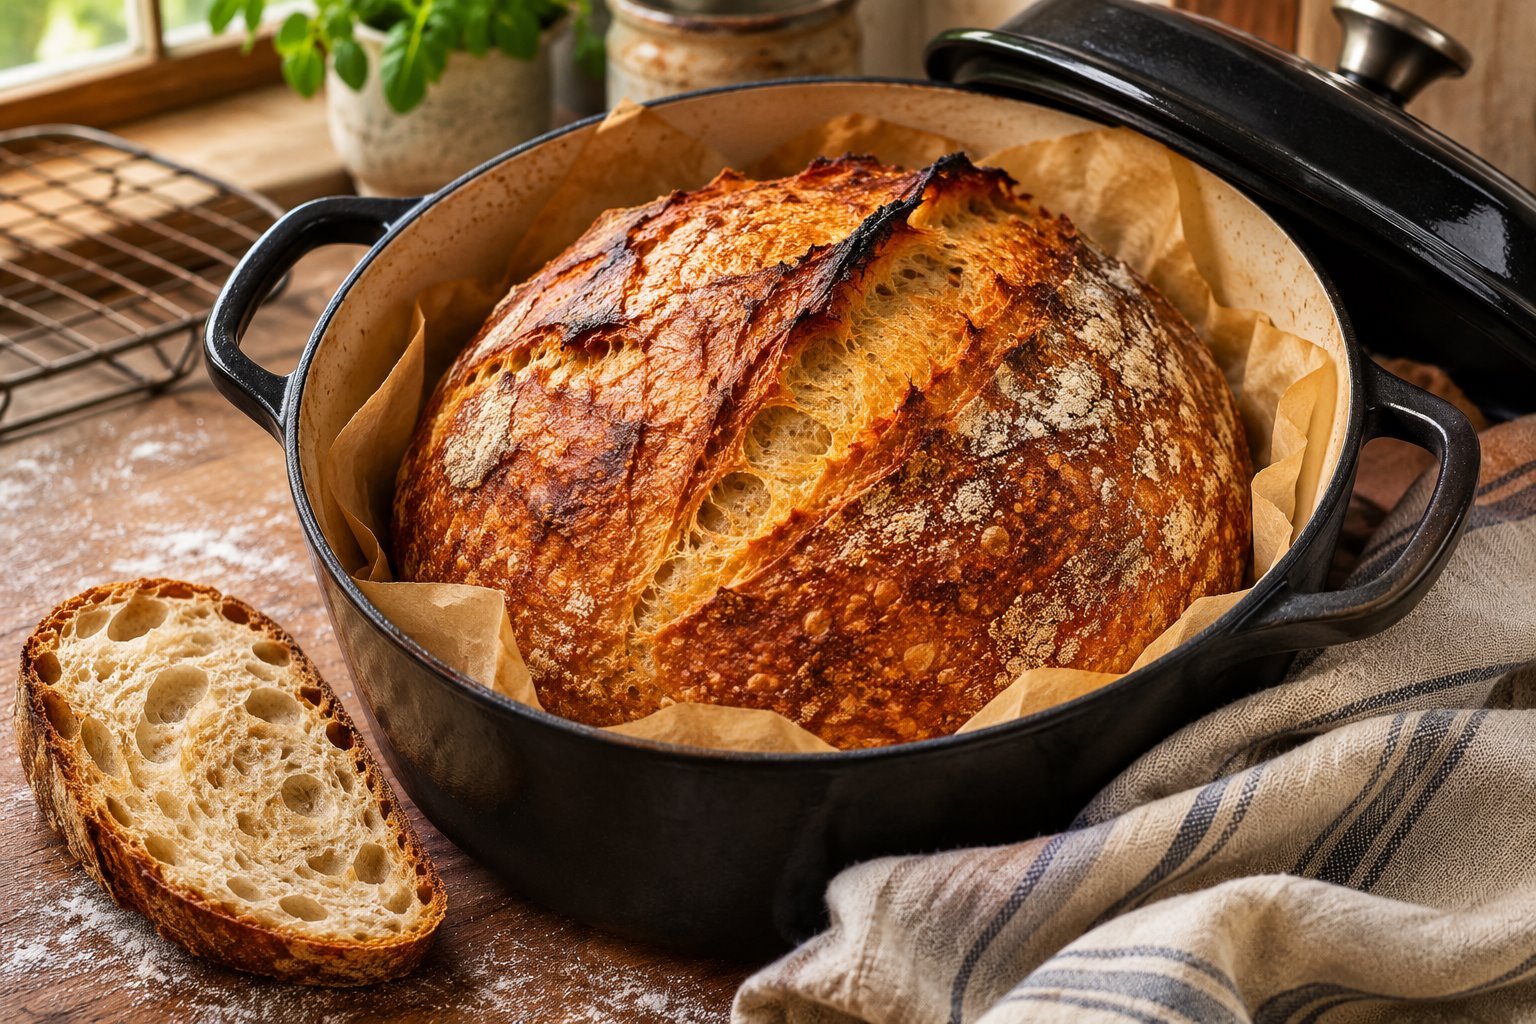
No Knead Dutch Oven Bread
Ingredients
Equipment
Method
- Whisk the flour, instant yeast, and salt in a large bowl. Add the warm water and stir until no dry flour remains. The dough should look shaggy and very sticky.
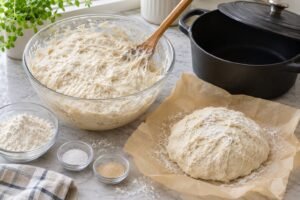
- Cover the bowl and let the dough rise in a draft-free place for 2 to 3 hours, until expanded and bubbly.
- Place the Dutch oven and its oven-safe lid in the oven. Preheat to 450°F for at least 30 minutes. Confirm that the pot, handles, and lid knob are rated for this temperature.
- Scrape the dough onto lightly floured high-heat parchment. Use a bench scraper, damp hands, or the parchment edges to tuck the dough into a loose round. Handle it as little as possible and score the top once.
- Using dry heavy oven mitts, remove the hot lid. Lower the dough and parchment carefully into the Dutch oven. Cover and bake for 30 minutes.
- Remove the lid carefully, keeping away from the steam. Bake uncovered for 10 to 15 minutes, until the crust is deeply golden and the center is approximately 205°F to 210°F.
- Lift the loaf onto a wire rack and cool for at least 1 hour before slicing so the crumb can set.
Notes
- The dough should remain sticky; do not add enough flour to make it firm.
- A 5- to 6-quart Dutch oven gives the loaf room to expand.
- Use dry oven mitts and treat the pot, lid, handles, and knob as extremely hot.
- Cool the loaf for at least 1 hour before slicing.