There’s something magical about a dessert that comes together without firing up the oven. These No-Bake Salted Caramel Pretzel Bars hit that perfect sweet and salty spot that keeps you reaching for just one more bite. I first made these on a sweltering summer afternoon when the thought of turning on my oven felt unbearable, and they’ve been my go-to ever since.
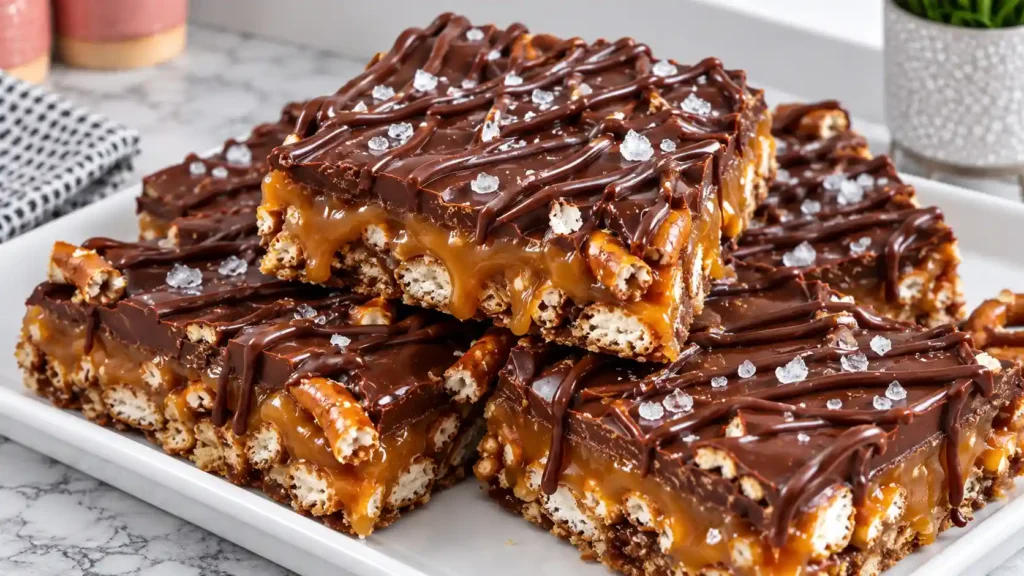
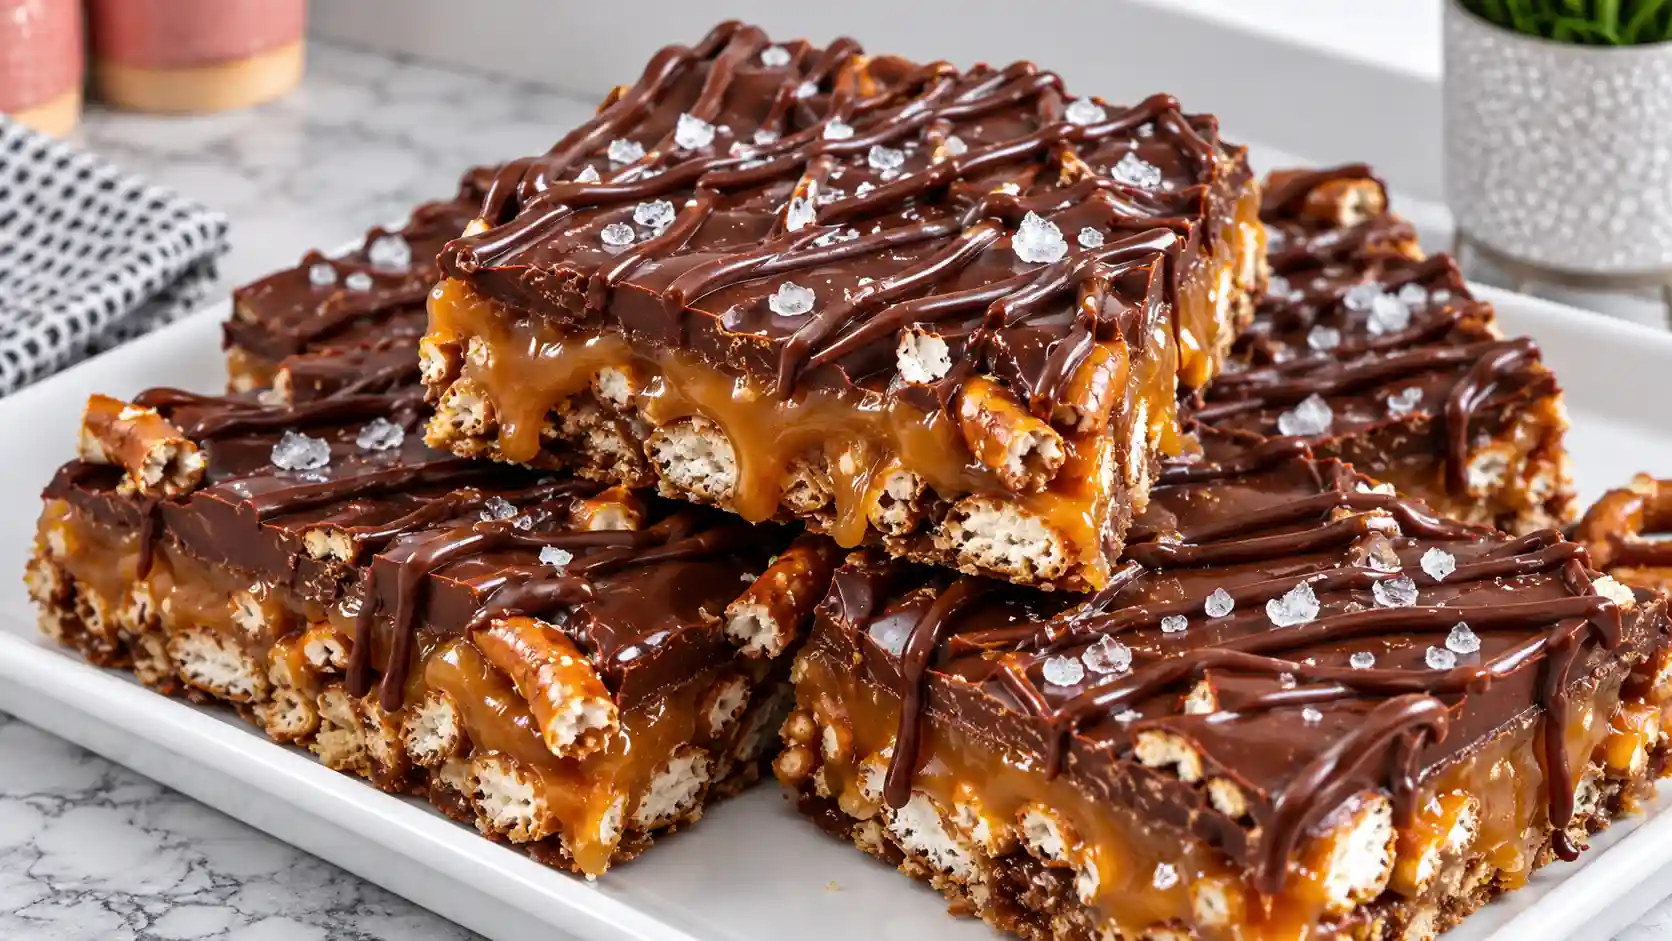
The beauty of this chocolate caramel pretzel dessert lies in its simplicity. Three layers of pure indulgence stack up into bars that look impressive but take barely any effort. The crunchy pretzel base gives way to a gooey caramel middle, all crowned with rich melted chocolate. It’s the kind of pretzel dessert recipes no bake lovers dream about.
What makes these pretzel desserts easy enough for weeknight treats is the minimal ingredient list and the fact that you probably already have most items in your pantry. Whether you’re bringing dessert to a potluck or need a last-minute crowd pleaser, this chocolate pretzel dessert recipe delivers every single time without the stress of baking.
Why This Chocolate Pretzel Dessert Works
The combination of textures is what sets these bars apart from other pretzel dessert recipes easy enough for beginners. You get that initial crunch from the pretzel crust, then the chewy pull of warm caramel, finished with the smooth snap of chocolate. Each bite delivers something different, which is why these No-Bake Salted Caramel Pretzel Bars disappear faster than any baked good I’ve ever made.
Using quality ingredients matters here since there are so few components. Good caramel makes a noticeable difference, and I always reach for real butter rather than margarine. The salted element balances the sweetness perfectly, preventing this chocolate pretzel dessert recipes collection favorite from becoming cloying.
- Ready in under 30 minutes plus chilling time
- Requires no baking skills or special equipment
- Perfect balance of sweet, salty, crunchy, and chewy
- Uses pantry staples you likely already have
- Makes a full 9×9 pan for sharing
Ingredients for No-Bake Salted Caramel Pretzel Bars
Every great caramel pretzel dessert starts with the right foundation. Here’s what you’ll need to build these irresistible bars layer by layer. The ingredient list is refreshingly short, which means less shopping and more time enjoying the results.
- 3 cups mini pretzel twists, finely crushed (about 10 ounces)
- 1/2 cup unsalted butter, melted
- 1/4 cup granulated sugar
- 14 ounces soft caramels, unwrapped (about 50 pieces)
- 3 tablespoons heavy cream or whole milk
- 2 cups semi-sweet chocolate chips
- 1 tablespoon coconut oil or shortening
- Flaky sea salt for sprinkling on top
- 1/4 cup crushed pretzels for garnish (optional)
The pretzel crust forms the backbone of this pretzel dessert, so don’t skimp on crushing them fine enough. You want even distribution so every bite has that signature salty crunch. For the caramel layer, I prefer using soft baking caramels rather than caramel sauce because they set up beautifully without becoming runny.
Step-by-Step Instructions
Building these No-Bake Salted Caramel Pretzel Bars is straightforward, but there are a few tricks that guarantee success. Take your time with each layer, and don’t rush the chilling steps. Patience here means clean slices and picture-perfect bars.
Start by crushing your pretzels until they resemble coarse sand. A food processor makes this effortless, but a rolling pin and zip-top bag works in a pinch. Mix the crushed pretzels with melted butter and sugar until everything is evenly moistened. Press this mixture firmly into the bottom of a 9×9 inch pan lined with parchment paper, using the bottom of a measuring cup to compact it evenly.
For the caramel layer, combine unwrapped caramels with heavy cream in a microwave-safe bowl. Heat in 30-second bursts, stirring between each, until completely smooth and pourable. Pour the warm caramel over the pretzel crust, tilting the pan to spread it evenly. Let this set at room temperature for about 15 minutes before moving on.
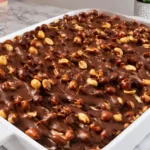
Melt the chocolate chips with coconut oil using the same microwave method, stirring frequently to prevent scorching. Pour the melted chocolate over the set caramel layer, spreading gently with an offset spatula. Sprinkle immediately with flaky sea salt and any remaining crushed pretzels for garnish. Refrigerate for at least 2 hours, or until completely firm.
Pro Tips for Perfect Pretzel Dessert Recipes No Bake
Line your pan with parchment paper leaving overhang on two sides. This creates handles that make removing the entire slab effortless once it’s chilled. You can then transfer to a cutting board for clean slices without fighting the pan edges.
Work quickly when spreading the caramel layer. It starts to set as it cools, so have your spatula ready and tilt the pan rather than dragging across the surface. This prevents pulling up the pretzel crust underneath.
Use a sharp knife dipped in hot water for cutting. Wipe the blade between each slice for the cleanest edges. This chocolate pretzel dessert cuts beautifully when you use the right technique.
Variations on This Caramel Pretzel Dessert
Swap semi-sweet chocolate for milk chocolate if you prefer a sweeter finish, or use dark chocolate for a more sophisticated flavor profile. Adding a handful of chopped pecans or peanuts to the pretzel crust introduces extra crunch and complements the caramel beautifully.
For a peanut butter version, drizzle melted peanut butter over the caramel before adding the chocolate layer. This creates a flavor combination reminiscent of candy bars. You could also swirl a bit of caramel into the chocolate topping for a marbled effect.
Troubleshooting Tips
If your caramel layer won’t set, you likely used caramel sauce instead of soft caramels. Sauce contains more liquid and stays runny. Stick with baking caramels for proper structure. If this happens, pop the pan in the freezer for 30 minutes to firm things up before adding chocolate.
Chocolate that blooms or develops white streaks means it experienced temperature fluctuations during storage. This doesn’t affect taste, only appearance. Store these pretzel desserts in an airtight container in the refrigerator to prevent this issue.
Ingredient Substitutions
Gluten-free pretzels work perfectly for those avoiding gluten. The texture remains identical, and most brands crush just as well as traditional wheat pretzels. For dairy-free versions, use vegan butter, full-fat coconut cream instead of heavy cream, and dairy-free chocolate chips.
If you can’t find soft baking caramels, use 1 and 1/4 cups of thick caramel sauce mixed with 2 tablespoons of cornstarch, heated until thickened. This creates a similar consistency that will set properly when chilled.
Storage and Serving Suggestions
Keep these No-Bake Salted Caramel Pretzel Bars refrigerated in an airtight container for up to one week. They actually improve after a day as the flavors meld together. For longer storage, freeze individual bars wrapped in plastic wrap for up to 3 months. Thaw in the refrigerator before serving.
Serve these bars at cool room temperature for the best texture and flavor. They pair wonderfully with vanilla ice cream or a dollop of whipped cream for an extra indulgent dessert. A cup of strong coffee or cold milk balances the sweetness perfectly.
Frequently Asked Questions
Can I make these No-Bake Salted Caramel Pretzel Bars ahead of time?
Absolutely. These bars taste even better the next day as the flavors develop. Make them up to 3 days in advance and store covered in the refrigerator.
Why did my caramel layer slide off the pretzel crust?
This happens when the pretzel crust isn’t compacted firmly enough. Press down hard when forming the base, and let the caramel cool slightly before pouring so it doesn’t melt the butter binding the crust.
Can I use salted butter instead of unsalted?
You can, but reduce or eliminate the flaky sea salt on top. Salted butter varies in sodium content, so tasting as you go helps prevent over-salting this chocolate caramel pretzel dessert.
How do I get clean slices?
Use a sharp chef’s knife dipped in hot water, wiping between each cut. For extra clean edges, chill the bars an additional 30 minutes before slicing.
Can I double this recipe?
Yes, double all ingredients and use a 9×13 inch pan. The layers will be slightly thinner, so reduce chilling time by about 30 minutes. These pretzel dessert recipes easy adaptations work great for larger gatherings.

No-Bake Salted Caramel Pretzel Bars
Ingredients
Equipment
Method
- Prepare the pan: Line a 9×9 inch baking pan with parchment paper, leaving overhang on two sides for easy removal. Set aside.
- Make the pretzel crust: In a medium bowl, combine 3 cups crushed pretzels, melted butter, and sugar. Mix until evenly moistened. Press firmly into the bottom of the prepared pan using the bottom of a measuring cup to compact evenly.
- Prepare the caramel layer: In a microwave-safe bowl, combine unwrapped caramels and heavy cream. Microwave in 30-second intervals, stirring between each, until completely smooth and pourable (about 2-3 minutes total).
- Assemble caramel layer: Pour warm caramel over the pretzel crust, tilting the pan to spread evenly. Let set at room temperature for 15 minutes until slightly firm to the touch.
- Melt the chocolate: In a microwave-safe bowl, combine chocolate chips and coconut oil. Microwave in 30-second intervals, stirring frequently, until completely smooth (about 1-2 minutes total).
- Add chocolate topping: Pour melted chocolate over the set caramel layer. Spread gently with an offset spatula to cover completely. Immediately sprinkle with flaky sea salt and optional crushed pretzels for garnish.
- Chill and serve: Refrigerate for at least 2 hours, or until completely firm. Use parchment overhang to lift bars from pan. Cut into 16 squares using a sharp knife dipped in hot water, wiping between cuts. Store refrigerated.
Notes
- For cleanest slices, chill bars an additional 30 minutes before cutting
- Use quality soft baking caramels, not caramel sauce, for proper setting
- Bars taste even better the next day as flavors meld together
- Freeze individual bars wrapped in plastic for up to 3 months