There’s something magical about that first bite of a buster bar ice cream cake. The way the chocolate shell cracks under your fork, giving way to creamy vanilla ice cream, rich hot fudge, and those perfectly salty peanuts. It’s the kind of dessert that makes you close your eyes and just savor the moment.
I first fell in love with this nutty ice cream dessert at a summer barbecue. Everyone was fighting over the last slice, and I knew I had to figure out how to make a buster bar cake at home. This chocolate peanut ice cream dessert brings all those amazing flavors together in one easy frozen treat that feeds a crowd.
What makes this recipe for buster bar dessert so special is how simple it is. You’re basically building layers of everything good about ice cream fudge desserts. No baking required, just assembly and patience while it freezes. Perfect for those hot days when you need desserts with ice cream that actually cool you down.
Why This Buster Bars Homemade Recipe Works
The secret to nailing how to make a buster bar cake lies in the layering technique. You want each component to shine while still working together. The graham cracker base gives you that crunch, the vanilla ice cream provides creaminess, and the hot fudge adds richness that balances the salty peanuts perfectly.
This peanut buster parfait ice cream cake version skips the complicated homemade fudge. Using store-bought hot fudge and magic shell means you can throw this together in about 20 minutes. The hardest part is waiting for it to freeze solid enough to cut clean slices.
Ingredients for Your Buster Bar Ice Cream Cake
Keep it simple with these five key components. Each one plays a specific role in creating that signature buster bar ice cream cake texture and flavor profile.
- 10 whole chocolate fudge graham crackers, broken into pieces
- 1 gallon vanilla ice cream, slightly softened (about 15 minutes at room temperature)
- 14 ounces hot fudge sauce, room temperature
- 1 1/2 cups red skin peanuts, divided
- 7.5 ounces chocolate magic shell topping
You can find red skin peanuts in the baking aisle or snack section of most grocery stores. They have a slightly sweeter, nuttier flavor than regular peanuts, which makes them perfect for this nutty ice cream dessert. If you can’t find them, regular dry roasted peanuts work just fine.
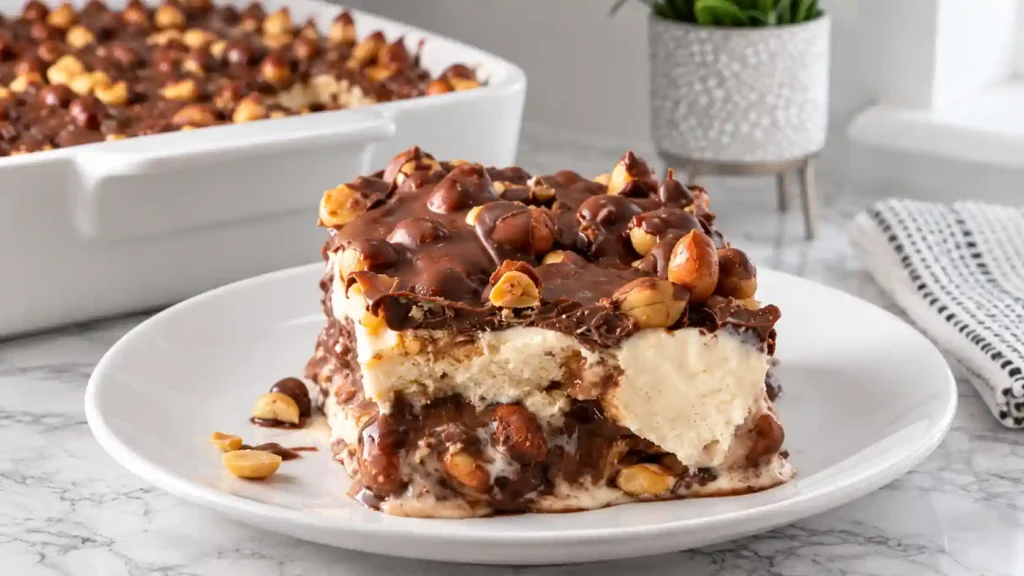
When you’re building your chocolate peanut ice cream dessert, make sure your ice cream is just soft enough to spread but not melted. This makes layering so much easier and gives you those clean, defined layers when you cut into the finished cake.
Step-by-Step Instructions
Start by lining a 9×13 inch baking dish with parchment paper, leaving some overhang on the sides. This makes lifting out the entire buster bar ice cream cake much easier once it’s frozen solid.
Arrange those broken chocolate fudge graham crackers across the bottom of your pan. Don’t worry about making it perfect. Just break them into pieces that cover the surface in a single layer. Some gaps are fine since the ice cream will fill everything in.
Scoop about half the vanilla ice cream over the graham cracker base. Use a sturdy spatula or even your hands (with a glove) to press and spread it into an even layer. You want it compacted down so there are no air pockets.
Pour that hot fudge sauce over the ice cream layer and spread it gently. Sprinkle about 3/4 cup of the peanuts over the fudge. These peanuts in desserts with ice cream add that crucial salty crunch that makes this recipe for buster bar dessert so addictive.
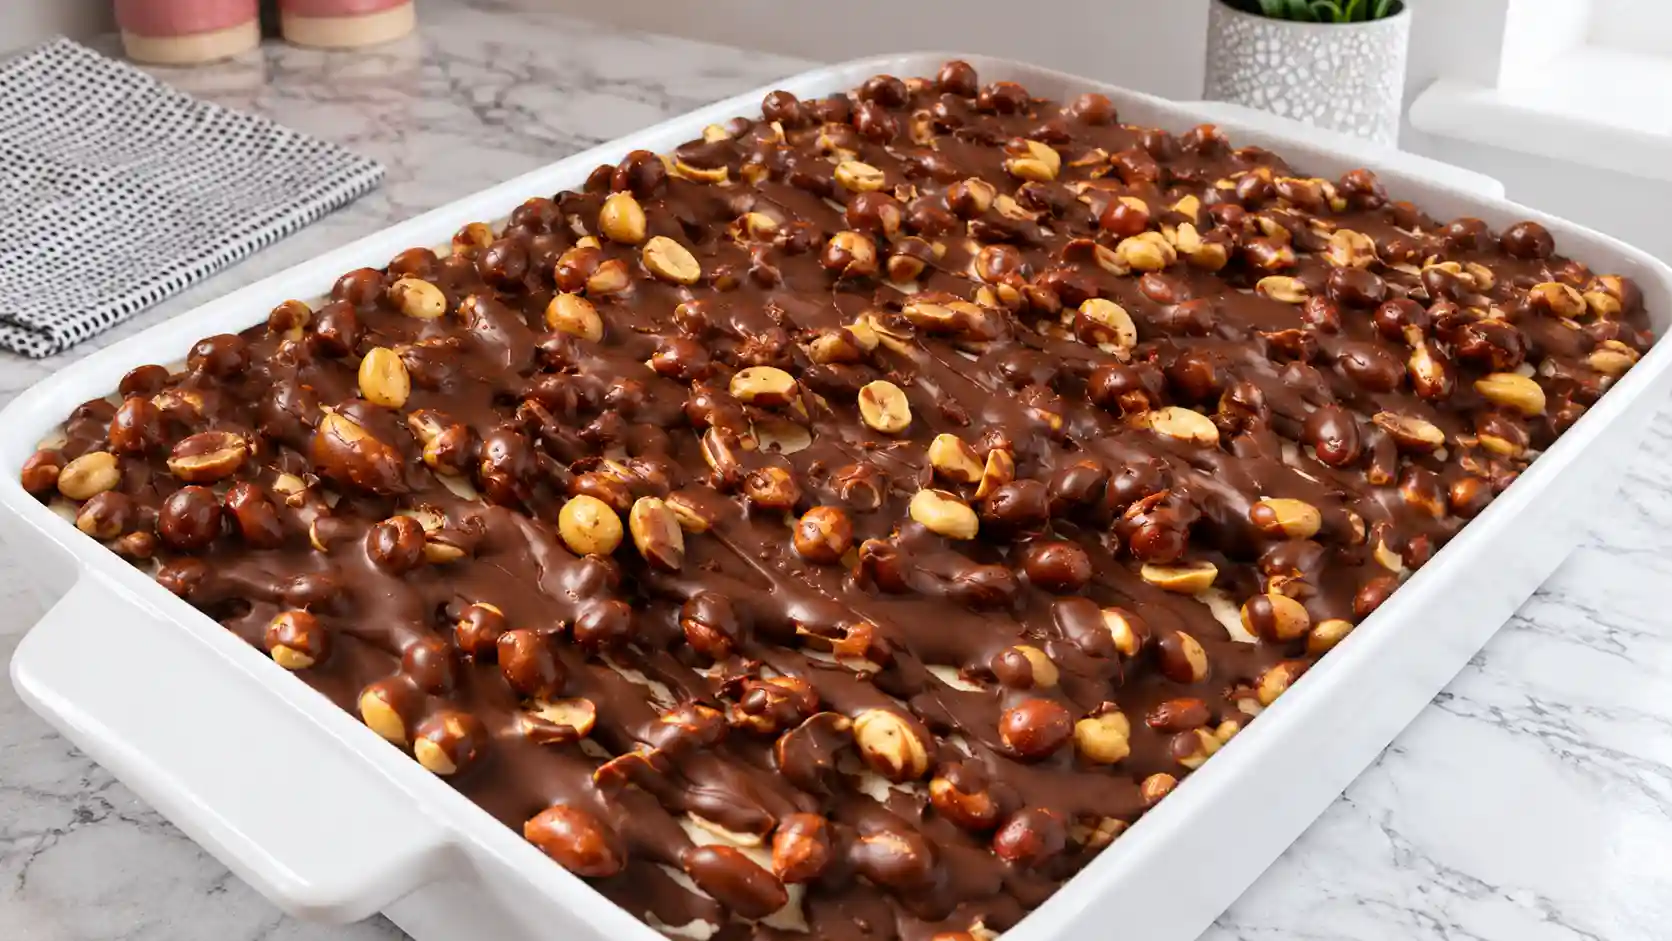
Add the remaining ice cream on top, pressing down firmly to seal everything together. This compression step is key for that peanut buster parfait ice cream cake texture. Scatter the rest of the peanuts evenly, then drizzle the magic shell over everything.
Pop the whole pan into the freezer for at least 3 hours, though overnight is even better. When you’re ready to serve, let it sit at room temperature for about 5 minutes to make cutting easier.
Pro Tips for Perfect Results
- Soften ice cream just enough to spread easily, about 10-15 minutes on the counter
- Use a warm knife dipped in hot water for cleaner slices
- Press each layer down firmly to prevent air pockets
- Let magic shell set for a minute before adding the next layer if doing multiple coats
- Store covered tightly in the freezer to prevent ice crystals
Variations to Try
Want to switch up this buster bars homemade recipe? Try chocolate ice cream instead of vanilla for an even richer chocolate peanut ice cream dessert. You could also add a layer of crushed Oreos between the ice cream and fudge for extra texture.
For a grown-up version, add a tablespoon of bourbon or rum to the hot fudge before spreading. This nutty ice cream dessert also works great with salted caramel sauce instead of hot fudge.
Troubleshooting Tips
If your ice cream fudge cake is too hard to cut, let it sit in the refrigerator for 10 minutes before serving. If the layers are separating when you slice, your ice cream was probably too soft during assembly. Next time, work a bit faster or keep the ice cream in the freezer between steps.
Should the magic shell crack into too many pieces when cutting, try using a sharp knife and a gentle sawing motion rather than pressing straight down. This how to make a buster bar cake technique keeps the topping intact.
Ingredient Substitutions
No chocolate fudge graham crackers? Regular graham crackers work fine, or use crushed vanilla wafers. For the peanuts in desserts with ice cream, you can substitute almonds, cashews, or even pecans if that’s what you have.
Out of magic shell? Melt 1 cup of chocolate chips with 2 tablespoons of coconut oil and drizzle that over the top. It won’t harden quite the same way but tastes just as good in this recipe for buster bar dessert.
Storage and Serving Suggestions
This buster bar ice cream cake keeps well in the freezer for up to 2 weeks if wrapped tightly. I like to cut it into squares and wrap individual pieces for easy grab-and-go desserts with ice cream throughout the week.
Serve this chocolate peanut ice cream dessert at summer parties, barbecues, or any time you need an easy crowd-pleaser. It pairs beautifully with fresh berries on the side or a dollop of whipped cream if you’re feeling extra.
Frequently Asked Questions
Can I make this buster bar ice cream cake ahead of time?
Absolutely. This nutty ice cream dessert actually benefits from sitting in the freezer overnight. The flavors meld together and it cuts much cleaner after 8+ hours of freezing.
How do I get clean slices of my peanut buster parfait ice cream cake?
Run your knife under hot water and wipe it dry between each cut. This melts through the magic shell and ice cream fudge layers smoothly.
Can I use different ice cream flavors in this recipe for buster bar dessert?
Yes. While vanilla is traditional for buster bars homemade recipes, chocolate, coffee, or even strawberry ice cream work well in this chocolate peanut ice cream dessert.
Why did my layers separate when cutting?
This usually happens when the ice cream was too soft during assembly or the cake wasn’t frozen long enough. Make sure each layer is pressed down firmly and freeze for at least 3 hours.
Can I make this without peanuts for a school event?
Definitely. Substitute crushed pretzels, crispy rice cereal, or omit the crunchy element entirely. This how to make a buster bar cake recipe is flexible.
How many servings does this buster bar ice cream cake make?
You’ll get about 20 generous squares from a 9×13 pan. For smaller portions, cut into 24 pieces. This desserts with ice cream recipe feeds a crowd easily.
What’s the best way to store leftover buster bar dessert?
Keep it tightly covered in the freezer. Individual wrapped slices make perfect portions for this ice cream fudge dessert throughout the week.

Buster Bar Ice Cream Cake
Ingredients
Equipment
Method
- Line a 9×13 inch baking dish with parchment paper, leaving overhang on the sides for easy removal.
- Arrange broken chocolate fudge graham crackers in a single layer across the bottom of the pan.
- Scoop half the vanilla ice cream over the graham crackers and press down firmly with a spatula to create an even, compact layer.
- Pour hot fudge sauce over the ice cream layer and spread gently. Sprinkle 3/4 cup of peanuts evenly over the fudge.
- Add remaining ice cream on top, pressing down firmly to seal all layers together. Scatter remaining peanuts over the surface.
- Drizzle magic shell topping over the peanuts. Freeze for at least 3 hours or overnight before cutting into squares.
Notes
- Soften ice cream for 10-15 minutes before assembling for easier spreading
- Use a warm knife dipped in hot water for cleaner slices
- Store tightly covered in freezer for up to 2 weeks
- Let sit at room temperature for 5 minutes before serving for easier cutting