

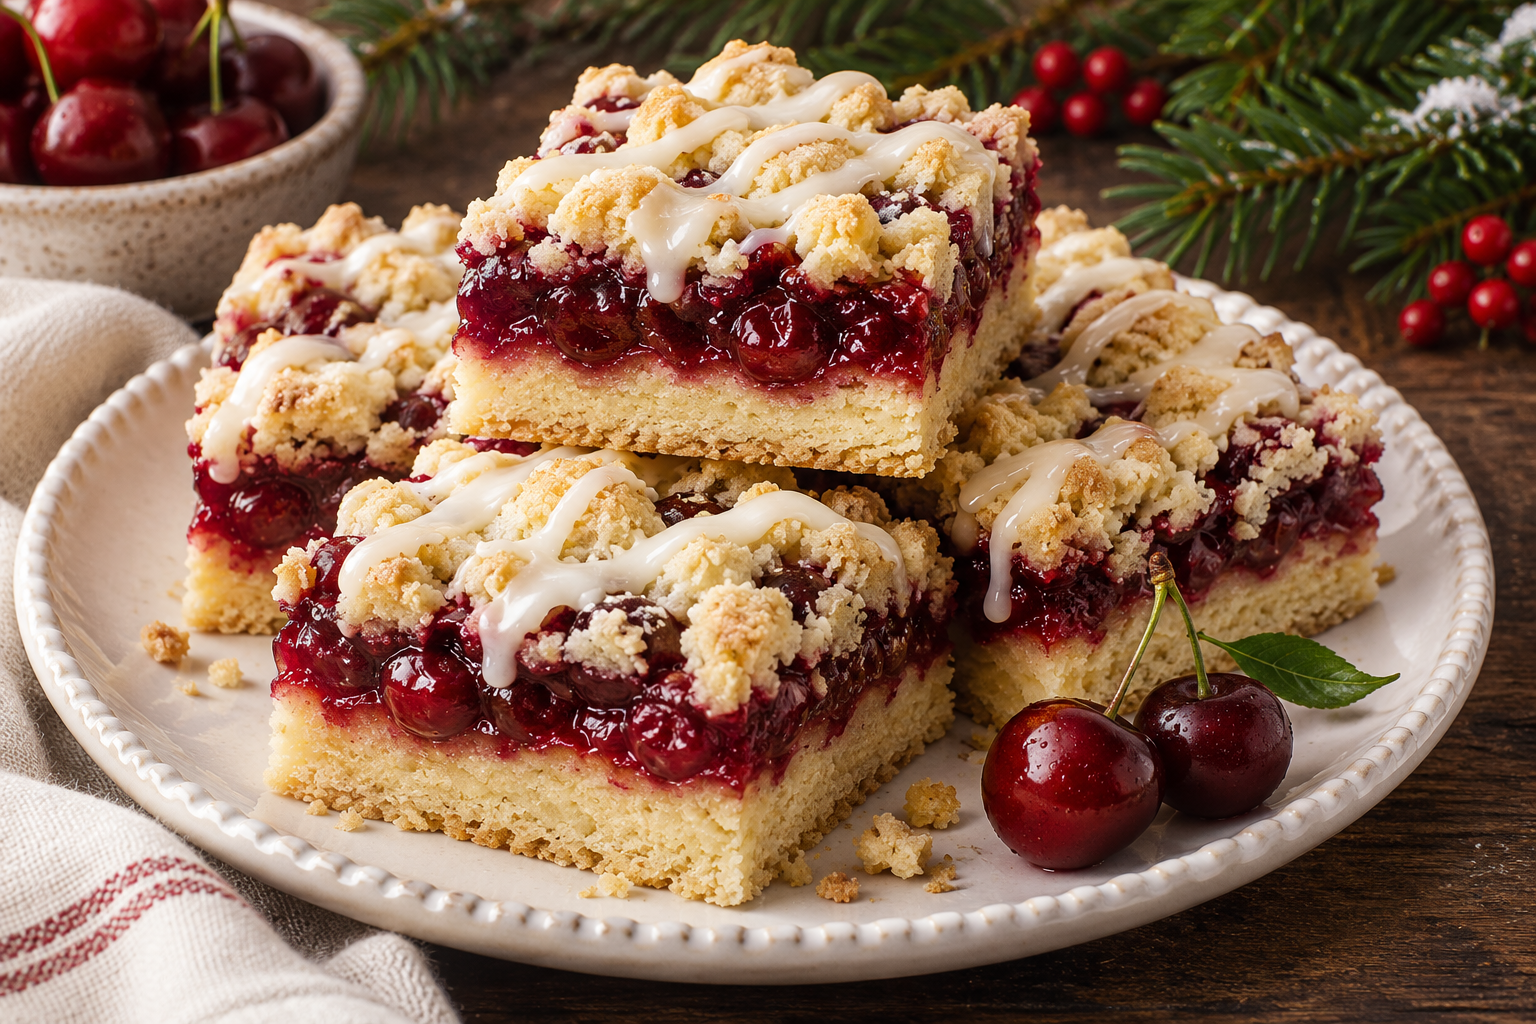
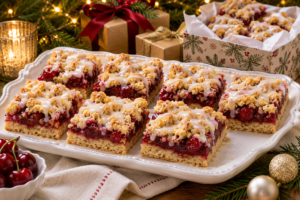
Cherry Christmas Bars: Soft Cookie Base, Juicy Cherry Filling, Creamy Vanilla Glaze bring bright holiday color to a dessert tray without complicated decorating. Each square has a tender vanilla-almond cookie base, a homemade cherry-orange filling, golden cookie crumbles, and a simple white glaze.
The recipe makes 24 bars in one 9-by-13-inch pan, ideal for parties, cookie exchanges, and edible gifts. Use frozen or fresh pitted cherries for a naturally festive ruby filling.
Why You Will Love These Cherry Christmas Bars
- Festive without food coloring: Cherries provide a naturally vivid red layer.
- Soft and sturdy: The cookie base stays tender but is firm enough to hold the filling.
- Made for sharing: One pan yields two dozen neat dessert squares.
- Make-ahead friendly: The filling and the baked bars can both be prepared in advance.
- Easy to transport: Once the glaze sets, the bars pack well between sheets of parchment.
If you enjoy Christmas cookies and bars, this recipe gives you the buttery flavor of a cookie with the convenience of a single pan. There is no rolling, chilling individual cookies, or piping detailed decorations.
Ingredients You Will Need
Vanilla-Almond Cookie Dough
Softened unsalted butter, granulated sugar, eggs, vanilla, and a small amount of almond extract create the tender base. Almond extract is optional, but its bakery-style aroma pairs especially well with cherries. Flour, baking powder, and salt provide structure and balance.
Butter should be soft enough to indent with a fingertip but not shiny or melted. Correctly softened butter traps air when creamed with sugar, helping the base bake evenly instead of becoming greasy.
Homemade Cherry Filling
Fresh or frozen pitted cherries are cooked with sugar, cornstarch, lemon juice, and orange zest. The citrus keeps the filling lively and adds one of those subtle Christmas flavors desserts often get from orange. If using frozen fruit, do not thaw it first.
Creamy Vanilla Glaze
Powdered sugar, milk, vanilla, and a pinch of salt make a smooth glaze that sets softly. Add the milk gradually because a small difference changes the consistency quickly. The glaze should fall from a spoon in a thick ribbon rather than run like water.
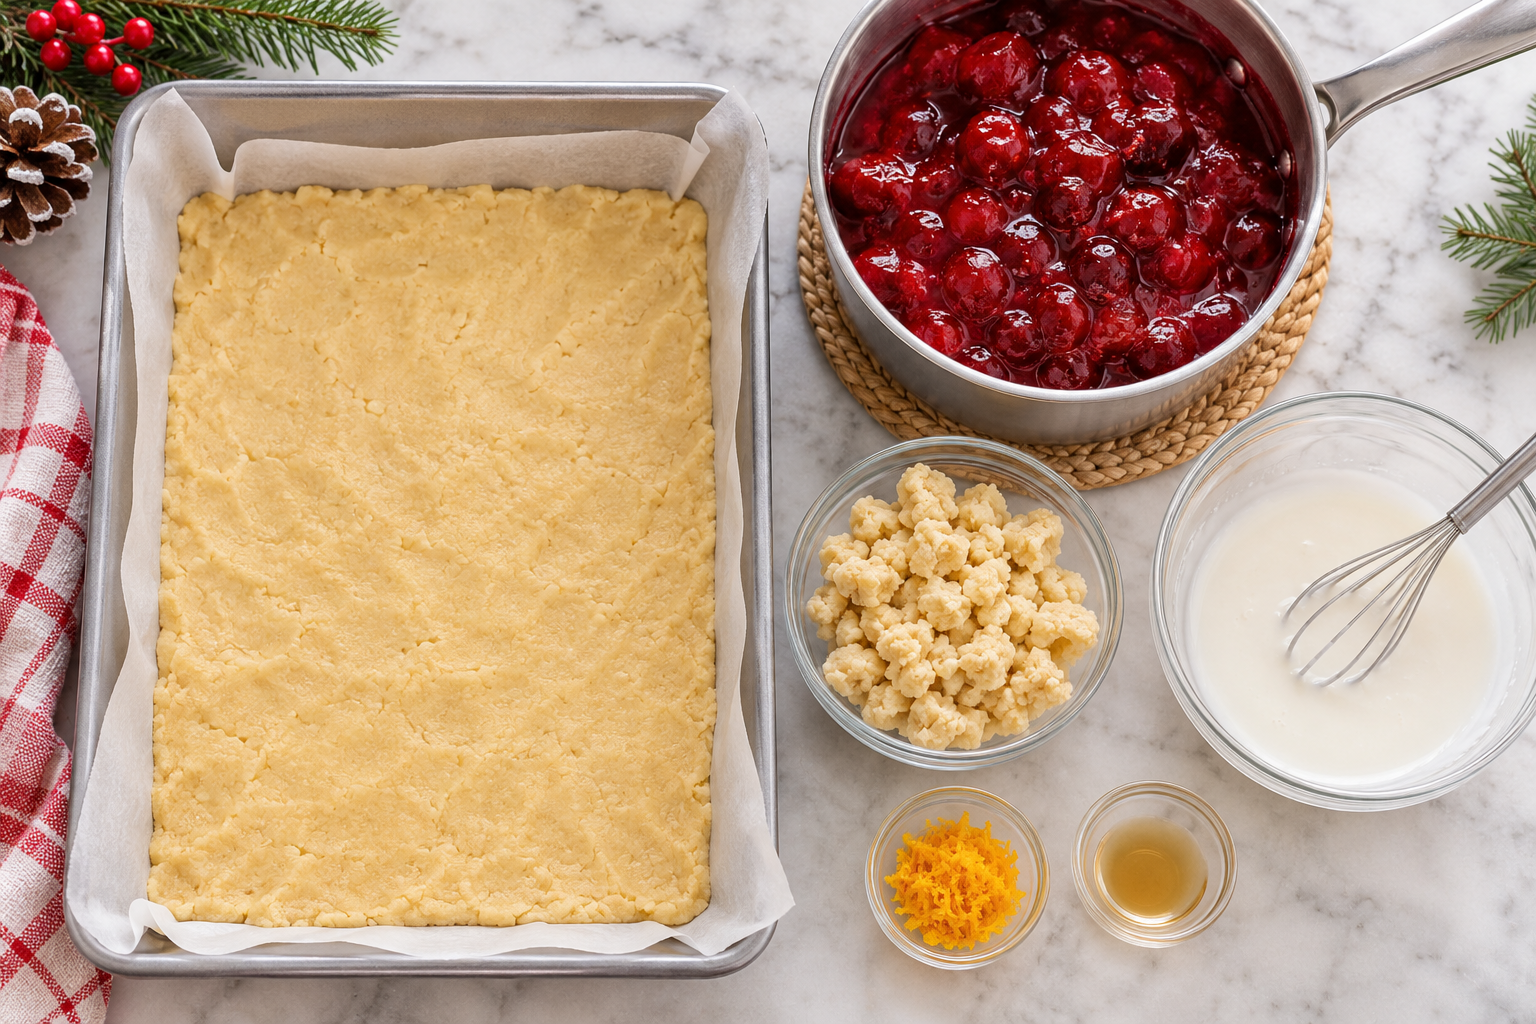
How to Make Cherry Christmas Bars
1. Cook the Cherry Filling
Combine the cherries, sugar, cornstarch, lemon juice, water, and orange zest in a saucepan. Cook over medium heat, stirring often, until the cherries release juice and the mixture bubbles. Simmer for 3 to 5 minutes, until glossy and thick enough to coat a spoon. Remove it from the heat and let it cool while you mix the dough.
2. Prepare the Pan and Dough
Heat the oven to 350°F. Line a 9-by-13-inch metal pan with parchment, leaving overhang on two sides. Beat the butter and sugar until pale and creamy. Add the eggs one at a time, then mix in vanilla and optional almond extract.
Whisk the flour, baking powder, and salt separately. Add the dry ingredients to the butter mixture and mix only until no dry flour remains. Overmixing develops gluten and can make the base firm instead of soft.
3. Assemble the Layers
Press about two-thirds of the dough evenly into the prepared pan. Slightly damp fingertips or the bottom of a measuring cup help smooth the sticky dough. Spread the cooled cherry filling over the base, leaving a narrow border around the edge. Crumble the remaining dough in small pieces over the cherries.
4. Bake and Cool
Bake for 35 to 40 minutes. The exposed cookie topping should be lightly golden, the center should look set, and the cherry filling should bubble gently around some edges. Cool completely in the pan on a wire rack. Warm bars are too fragile to glaze or cut neatly.
5. Glaze and Slice
Whisk the powdered sugar, two tablespoons of milk, vanilla, and salt. Add more milk a teaspoon at a time if needed. Lift the cooled slab from the pan, drizzle with glaze, and allow it to set for 20 to 30 minutes. Cut into four rows by six rows for 24 bars.
Tips for Perfect Holiday Dessert Bars
Cool the filling. Hot filling melts the butter in the unbaked base and can create a greasy layer.
Use a metal pan. Metal conducts heat efficiently and gives the cookie base a more even golden edge. A glass pan may require a slightly longer bake.
Line the pan. Parchment handles make it much easier to lift and cut the full slab.
Do not overbake. The cookie layer continues to firm as it cools. Remove the pan once the topping is lightly golden and the center is set.
Wipe the knife. Use a long sharp knife and clean it between cuts to keep the white glaze and red filling distinct.
These details are helpful for many squares and bars recipes Christmas bakers prepare in large batches, especially when appearance matters on a shared dessert tray.
Serving Ideas for Christmas Cherry Desserts
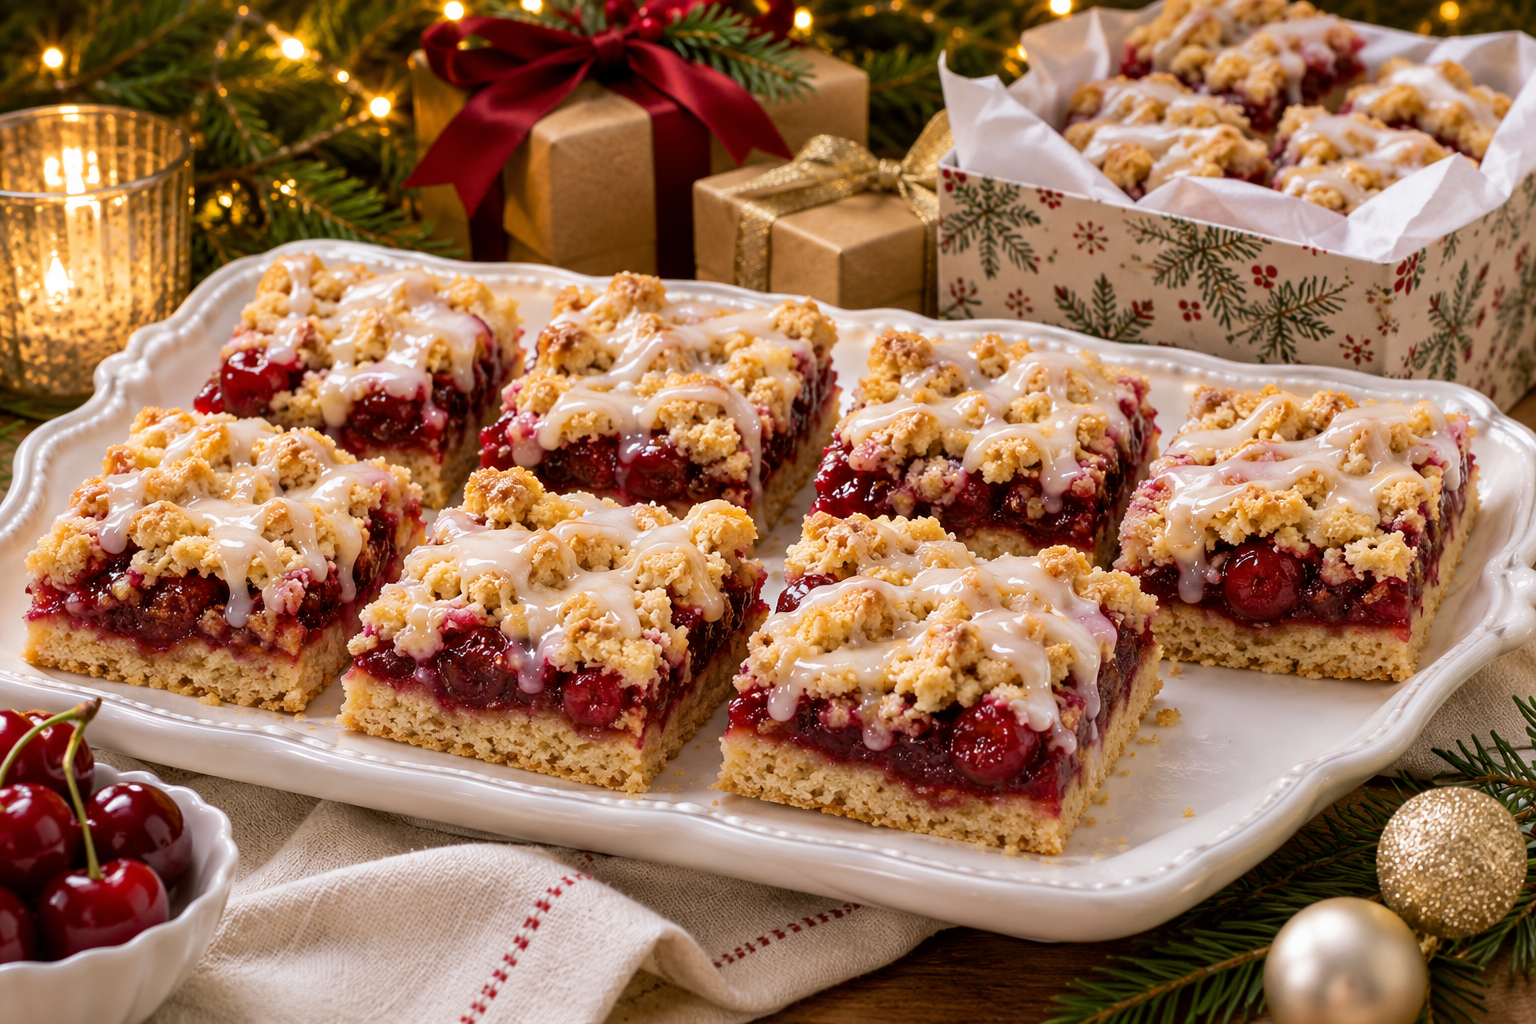
Arrange the bars on a white platter so the red cherries stand out. Add evergreen sprigs around the platter for decoration, but keep non-edible greenery from touching the food. A light dusting of powdered sugar can create a snowy look after the glaze sets.
These bars pair well with coffee, black tea, hot chocolate, or cold milk. For a larger dessert buffet, serve them beside chocolate cookies, gingerbread, and shortbread. The cherry-orange layer adds a fruity option to a table of richer Christmas squares and bars.
Easy Variations
Cherry-cranberry filling: Replace one cup of cherries with fresh or frozen cranberries. Add two extra tablespoons of sugar to balance their tartness.
Lemon glaze: Replace one tablespoon of milk with fresh lemon juice for a sharper finish.
Chocolate drizzle: Skip the vanilla glaze and drizzle the cooled bars with melted white or dark chocolate.
Nut topping: Add one-third cup sliced almonds to the cookie crumble. This creates a crisp contrast in your collection of holiday cherry bars.
Shortcut filling: In a hurry, use 21 ounces of good-quality cherry pie filling. Stir in orange zest and a teaspoon of lemon juice before spreading it over the dough.
Make-Ahead Instructions
The homemade cherry filling can be cooked three days ahead and stored in a covered container in the refrigerator. Bring it close to room temperature before spreading so it does not chill the cookie dough unevenly.
Bake the bars one day before serving, cool them, and store the uncut slab tightly covered at room temperature. Glaze and slice it several hours before the event. This schedule keeps the edges fresh and makes the final presentation easy.
How to Pack Cherry Christmas Bars for Gifts
Wait until the glaze is completely dry. Place the bars in a parchment-lined tin or sturdy box, arranging them in a single layer when possible. If stacking is necessary, put parchment between layers and avoid pressing the lid against the glaze.
Attach a note explaining that the bars are best enjoyed at room temperature and include common allergen information for wheat, dairy, eggs, and almonds if you used almond extract or nuts. Homemade holiday dessert bars feel especially thoughtful when they arrive neatly packed.
Storage and Freezing
Store the cut bars in an airtight container at room temperature for up to three days or refrigerate for up to five days. Refrigerated bars taste best after resting at room temperature for 20 minutes, which softens the cookie base and brings back the cherry aroma.
To freeze, leave the bars unglazed. Arrange them in a single layer until firm, then wrap them individually and place them in a freezer-safe container for up to two months. Thaw covered at room temperature and add fresh glaze before serving.
Frequently Asked Questions
Can I use frozen cherries?
Yes. Add them to the saucepan directly from the freezer. The filling may need an extra minute or two to reach a full simmer and thicken.
Why is my cherry filling runny?
The cornstarch mixture must come to a bubble to activate fully. Simmer until the filling looks glossy and leaves a clear trail when you drag a spoon across the bottom of the pan.
Can I omit almond extract?
Yes. Use only vanilla for a classic cookie flavor. Almond extract is strong, so the small amount listed is enough when you choose to include it.
What makes this Christmas Cherry Bars recipe different?
This version uses homemade whole-cherry filling, fresh orange zest, and natural color instead of canned filling and colored icing. The result is a bright, fruit-forward addition to your Christmas cherry desserts.
With their soft base, vivid fruit, golden crumble, and creamy glaze, these Cherry Christmas Bars deliver a festive look in a simple pan-baked format. They are easy to share, easy to pack, and cheerful enough for any holiday table.
Cherry Christmas Bars: Soft Cookie Base, Juicy Cherry Filling, Creamy Vanilla Glaze
Ingredients
Equipment
Method
- Combine the cherries, sugar, cornstarch, water, lemon juice, and orange zest in a saucepan. Cook over medium heat, stirring often, until bubbling. Simmer for 3 to 5 minutes until thick and glossy, then cool.
- Preheat the oven to 350°F. Line a 9-by-13-inch metal pan with parchment. Beat the butter and sugar until creamy. Add the eggs one at a time, then the vanilla and optional almond extract. Mix in the flour, baking powder, and salt just until combined.
- Press two-thirds of the dough evenly into the pan. Spread the cooled cherry filling over the base, leaving a narrow border. Crumble the remaining dough over the cherries.
- Bake for 35 to 40 minutes, until the exposed topping is lightly golden and the center is set. Cool completely in the pan on a wire rack.
- Whisk the powdered sugar, 2 tablespoons milk, vanilla, and salt, adding more milk by the teaspoon if needed. Lift the cooled slab from the pan, drizzle with glaze, set for 20 to 30 minutes, and cut into 24 bars.
Notes
- Do not add hot cherry filling to the unbaked cookie base; let it cool first.
- Fresh or frozen pitted cherries both work. Add frozen cherries directly to the saucepan.
- Cool the slab completely before glazing and slicing.
- Store airtight at room temperature for 3 days or refrigerate for up to 5 days.