

Crispy Chicken Fingers (Chicken Fries!) turn simple chicken breasts into long, crunchy strips that are perfect for dipping. This oven-baked version uses toasted panko, a little Parmesan, and a well-seasoned flour coating for a golden crust without deep-frying. Inside, the chicken stays tender and juicy; outside, every bite has the satisfying crunch kids and adults expect.
The narrow chicken-fry shape makes dinner feel playful, but the method is practical enough for a busy weeknight. Toasting the breadcrumbs before breading gives them an even golden color, while a wire rack lets hot air circulate around the strips. Serve them with ketchup, honey mustard, or a quick yogurt ranch and add vegetables or potato wedges for an easy family meal.
Why This Chicken Fingers Recipe Works
- Baked, not deep-fried: a light coating of oil helps the panko crisp in the oven.
- Kid-friendly seasoning: paprika, garlic, and onion powder add flavor without too much heat.
- Even cooking: cutting similar-size strips helps every piece finish at the same time.
- Make-ahead option: the chicken can be breaded earlier in the day and refrigerated until dinner.
- Easy to customize: change the spices, dipping sauces, or sides to suit your family.
Ingredients You Will Need
Chicken breast: Boneless, skinless breasts are easy to cut into long strips. If the breasts are very thick, slice them horizontally first. Aim for pieces about 1/2 inch wide so they cook quickly without drying out.
Panko breadcrumbs: These coarse Japanese-style crumbs create a lighter, crunchier coating than fine breadcrumbs. Toasting them briefly with olive oil provides the deep golden finish that baked chicken sometimes lacks.
Parmesan: A small amount adds savory flavor and helps the coating brown. Finely grated cheese blends into the crumbs more evenly than large shreds.
Seasoned flour: Flour mixed with paprika, garlic powder, onion powder, salt, and black pepper forms the first layer. It gives the egg something to hold onto and seasons the chicken underneath the crispy crust.
Egg wash: Eggs whisked with a spoonful of milk create the sticky middle layer. Any unsweetened dairy-free milk can replace regular milk, or you can omit it.

How to Make Crispy Chicken Fingers
1. Toast the panko
Warm olive oil in a skillet over medium heat, add the panko, and stir for three to four minutes until most crumbs are pale golden. They will deepen in color in the oven, so do not take them too dark. Let the crumbs cool slightly before mixing in Parmesan.
2. Cut and dry the chicken
Slice the breasts against the grain into long, even strips. Pat every piece dry with paper towel. Removing surface moisture helps the flour cling and prevents gaps in the breading.
3. Set up the breading station
Place seasoned flour, egg wash, and toasted panko in three shallow dishes, in that order. Keep one hand for the flour and crumbs and the other for the egg to reduce sticky buildup. Line a rimmed sheet pan with parchment and place an oven-safe wire rack on top. Lightly coat the rack with cooking spray.
4. Bread each chicken fry
Coat a strip lightly in flour and shake off the excess. Dip it in egg, let the extra drip away, then press it firmly into the panko mixture. Set it on the rack without touching the other pieces. A thin, even coating adheres better than a heavy one.
5. Bake until crisp and cooked through
Mist the tops lightly with cooking spray and bake at 425°F for 12 to 16 minutes, turning once, until the crust is crisp and the chicken reaches 165°F in the thickest strip. Because chicken fries are narrow, begin checking early. Rest them on the rack for three minutes before serving.
Secrets to a Coating That Stays Crisp
- Pat the chicken completely dry before adding flour.
- Shake off loose flour and let excess egg drip back into the bowl.
- Press the panko onto all sides instead of simply rolling the strip through it.
- Leave space between pieces so steam can escape.
- Use a rack whenever possible for airflow under the chicken.
- Serve promptly and avoid covering the hot chicken, which traps steam.
Air Fryer Chicken Fries
Preheat the air fryer to 400°F. Arrange the breaded strips in a single layer, leaving space between them, and spray lightly with oil. Cook for 8 to 11 minutes, turning halfway, until crisp and 165°F inside. Work in batches rather than crowding the basket. Hold finished batches on a rack in a 200°F oven while the rest cook.
Fun Ways to Serve Chicken Fingers
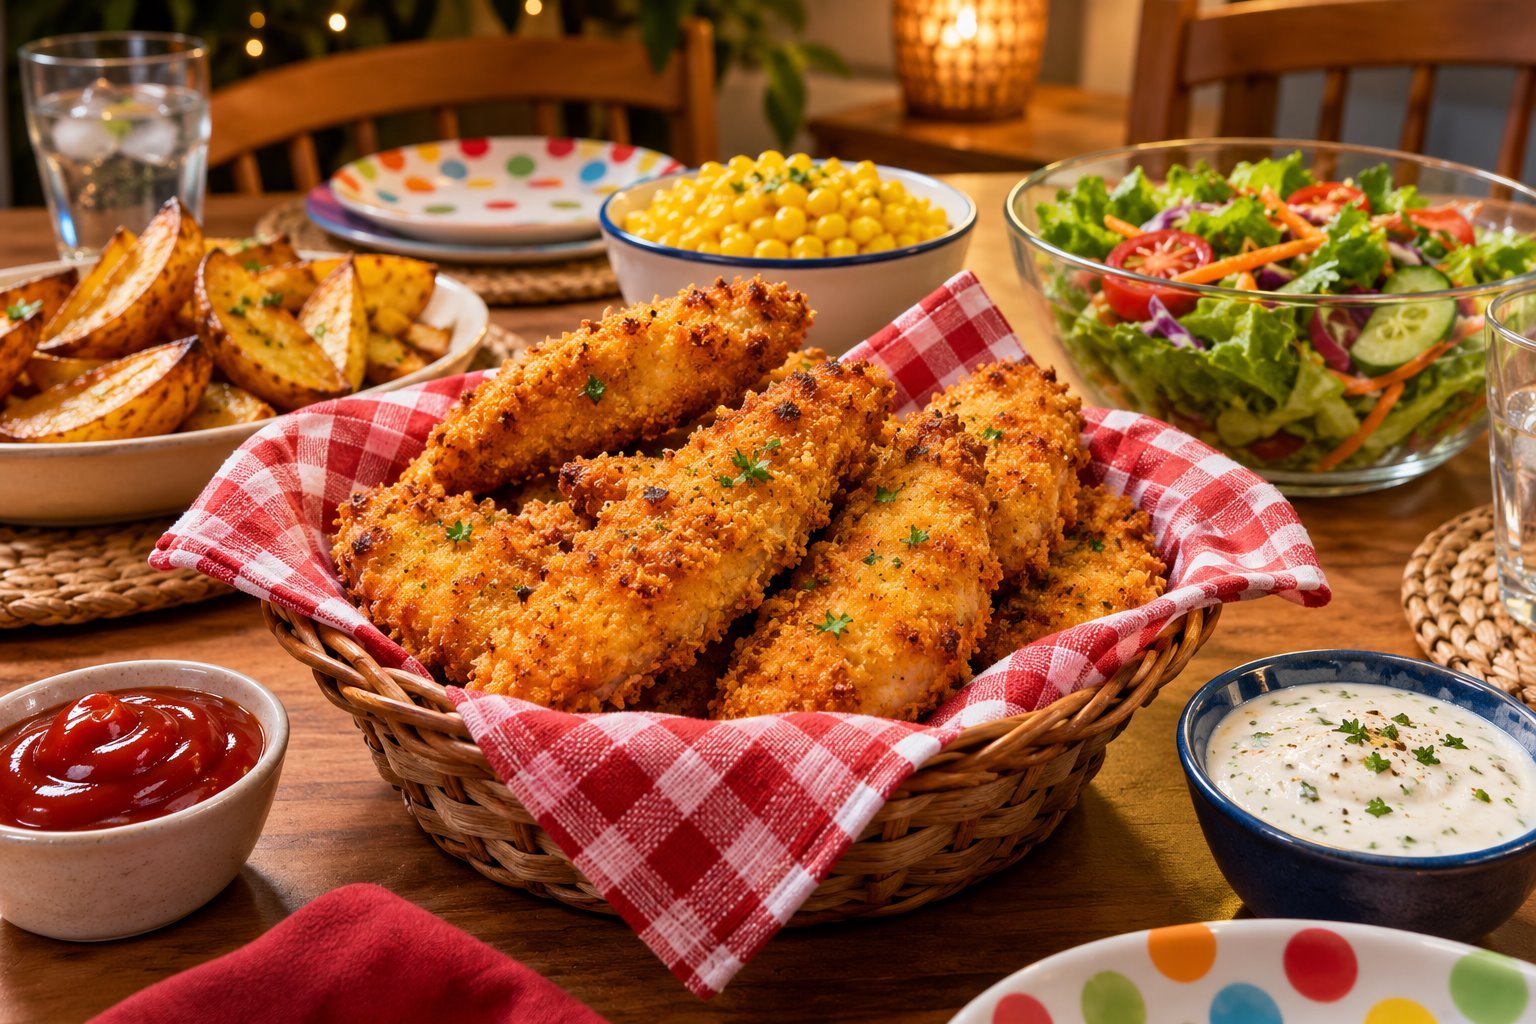
For a classic Chicken Tender Dinner, serve the fingers with oven potato wedges, corn, and crunchy slaw. They are also delicious with sweet potato fries, roasted broccoli, cucumber salad, or fruit. Put two or three sauces in small bowls and let everyone choose ketchup, barbecue sauce, honey mustard, or yogurt ranch.
For especially Fun Kid Dinner Ideas, arrange the chicken fries in paper cones with vegetable sticks, or build a dipping board with colorful produce. This approach turns ordinary Kids Chicken Recipes into an interactive meal without adding extra cooking.
Parents searching for Family Meals With Kids can also slice leftovers into wraps, tuck them into mini sandwiches, or serve them over salad. The same batch can become dinner one night and a quick lunch the next day.
Flavor Variations
Garlic Parmesan: Add another two tablespoons Parmesan and 1/2 teaspoon dried parsley to the crumbs. Smoky barbecue: Use smoked paprika in the flour and serve with barbecue sauce. Mild ranch: Add a teaspoon of ranch seasoning to the flour, reducing the salt if the blend is salty. Grown-up spicy: Add cayenne to the flour and serve hot sauce on the side so the main batch stays mild.
Make-Ahead, Storage, and Reheating
Bread the raw chicken up to eight hours ahead, arrange it on the rack, cover, and refrigerate. Keep raw chicken cold until baking and do not leave it at room temperature. Cooked leftovers keep in an airtight container in the refrigerator for up to three days.
For the crispiest reheating, use a 400°F oven for 8 to 10 minutes or a 350°F air fryer for 4 to 6 minutes, until steaming hot. The microwave works in a hurry but softens the coating. Cool the chicken fully before packing it for lunch so trapped steam does not make the crust soggy.
Frequently Asked Questions
Can I use chicken tenderloins?
Yes. Slice thick tenderloins lengthwise if you want the narrow chicken-fry shape, and remove the tough white tendon when practical. Cooking time may be slightly shorter, so check early.
Can I make gluten-free chicken fingers?
Use a cup-for-cup gluten-free flour blend and certified gluten-free panko. Check seasoning and sauce labels as well.
Why are my chicken fingers pale?
Untoasted breadcrumbs often stay light in the oven. Pre-toasting the panko and misting the breaded strips with oil creates a more even golden finish.
Are these good for a balanced family dinner?
Pair the baked chicken with vegetables, fruit, or a whole-grain side to build one of those practical Dinner Ideas For Family Healthy enough for regular rotation. Portion size and dipping sauces can be adjusted for each person.
These homemade chicken fries are Yummy Easy Food with the fun factor kids love and the straightforward ingredients parents appreciate. They also photograph beautifully for Dinner Idea Videos, and they deserve a place beside your favorite Baked Chicken Tenders Recipes whenever you need a reliable Dinner Kids Will Eat.
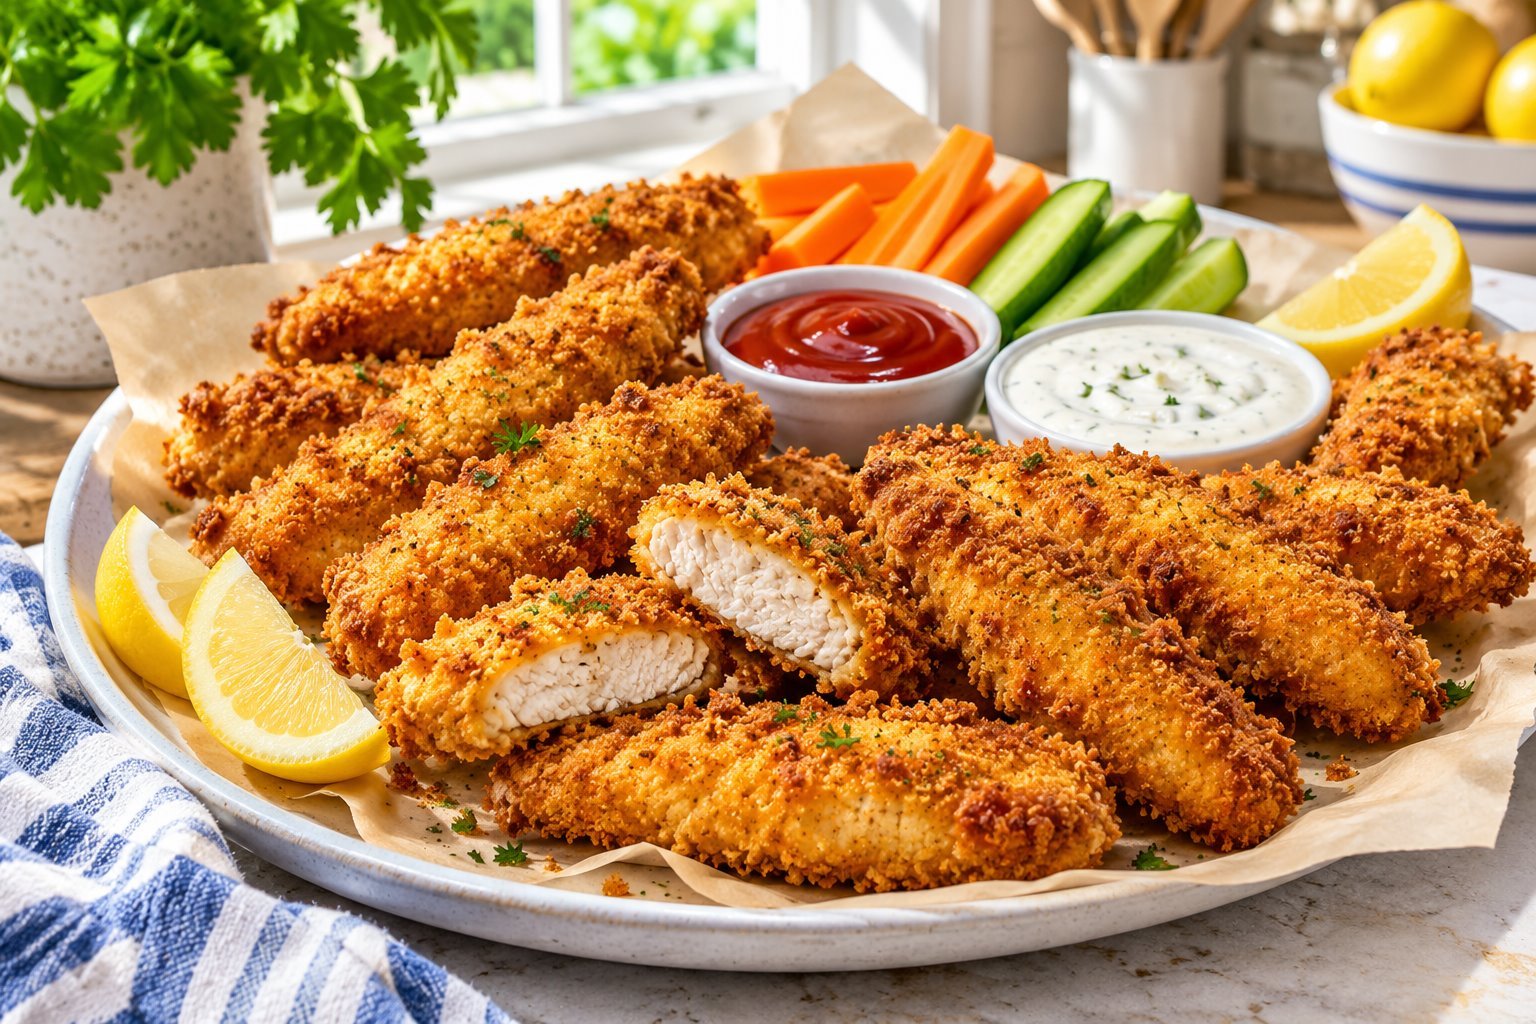
Crispy Chicken Fingers (Chicken Fries!) Recipe
Crispy Chicken Fingers (Chicken Fries!)
Ingredients
Equipment
Method
- Preheat the oven to 425°F. Line a rimmed baking sheet with parchment, set an oven-safe wire rack on top, and coat the rack lightly with cooking spray.
- Heat the olive oil in a skillet over medium. Add panko and stir for 3 to 4 minutes, until pale golden. Cool slightly, then mix with Parmesan.
- Pat the chicken strips dry. In one shallow bowl, combine flour, paprika, garlic powder, onion powder, salt, and pepper. In a second bowl, whisk eggs and milk. Place the toasted panko mixture in a third bowl.
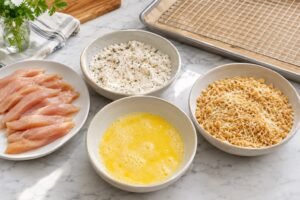
- Coat each strip lightly in flour and shake off excess. Dip in egg, let excess drip away, then press firmly into the panko mixture. Arrange on the rack without touching.
- Mist the tops with cooking spray. Bake for 12 to 16 minutes, turning once, until crisp and the thickest strips reach 165°F. Begin checking early because thin pieces cook quickly.
- Rest on the rack for 3 minutes. Serve hot with ketchup, yogurt ranch, honey mustard, or your favorite dipping sauce.
Notes
- Cut strips to a similar width so they finish together.
- For air frying, cook in a single layer at 400°F for 8 to 11 minutes, turning halfway, until the center reaches 165°F.
- Refrigerate cooked leftovers for up to 3 days and reheat in the oven or air fryer.
- Nutrition is an estimate and excludes dipping sauces and sides.